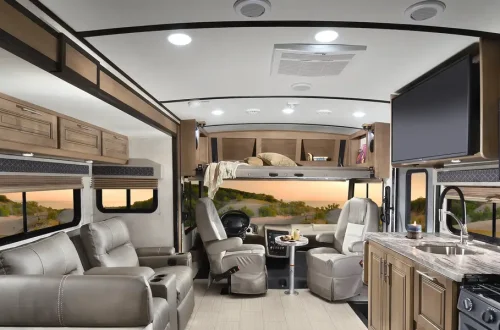
Space management in an RV is one of the biggest challenges travelers face. Every square inch counts, and maximizing storage while keeping things tidy can make a huge difference in comfort and convenience. One of the most overlooked areas for potential storage is under the bed. That space often goes unused or becomes a chaotic pile of items thrown together. Turning it into organized, functional storage can completely change how efficiently your RV operates.
I decided to take on the challenge of building my own under-bed storage in my RV, and the results were incredible. It gave me a dedicated spot for seasonal clothes, extra bedding, shoes, and even tools without sacrificing accessibility. Here’s a full breakdown of how to design, build, and organize DIY under-bed storage projects for RVs, simple ideas that make the most out of limited space while keeping everything easily reachable.
Assessing the Space Under Your Bed
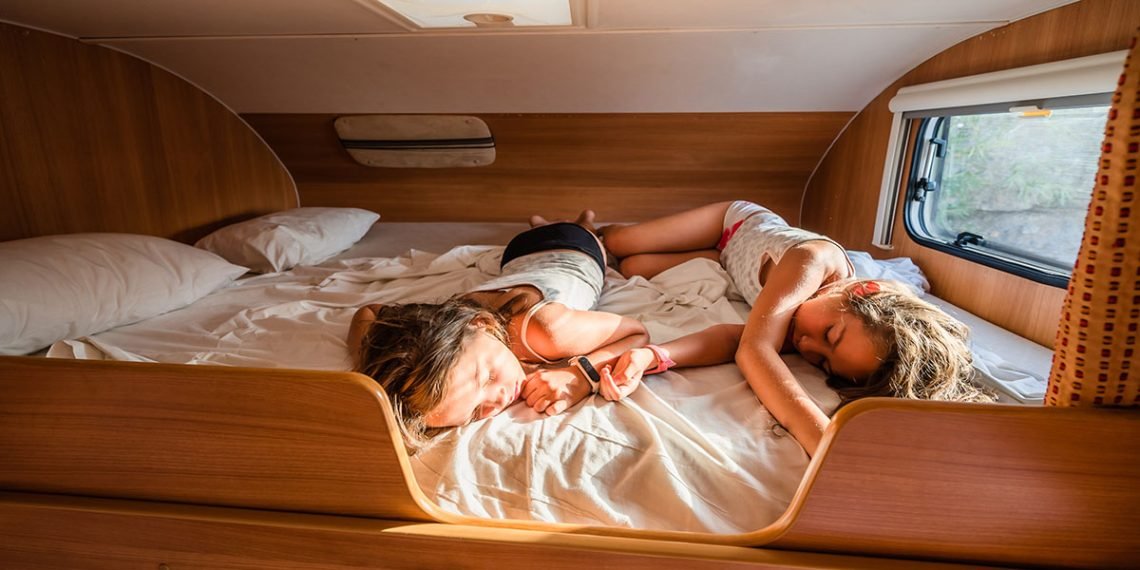
Before starting the project, the first step is to take measurements. Not all RV beds are the same, and you’ll need to know the exact dimensions of the space beneath yours. I lifted my mattress and used a tape measure to get the height, width, and depth of the area. Most RV beds sit on raised platforms, leaving anywhere between 8 and 18 inches of vertical clearance.
I also checked for any obstacles like wiring, water tanks, or vents beneath the bed. Many RV models have electrical lines or plumbing systems running in that area, so it’s essential to avoid damaging anything. Once I knew how much space was available, I planned the storage layout. My goal was to have both pull-out drawers and lift-up compartments for maximum versatility.
Planning the Storage Layout
There are several ways to use the space under your bed depending on what you plan to store. I sketched a few layout ideas before deciding on a hybrid design, two large pull-out drawers on one side and a lift-up section on the other. This setup allowed easy access to frequently used items while keeping long-term storage hidden and protected.
If you prefer simplicity, you can go with stackable storage bins. However, I wanted a more built-in look, so I opted for wooden compartments on sliders. The key is to make sure everything slides or opens easily without requiring you to move the mattress each time.
A lift-up system using hydraulic bed lifts is another great option if you want full access to the entire space. It’s ideal for storing bulky items like blankets, camping gear, or even small appliances.
Gathering Materials and Tools
After finalizing the layout, I gathered the materials needed for the project. Most of them were available at a local hardware store, and I managed to stay within a reasonable budget. Here’s what I used:
- Plywood sheets (¾ inch thick for the frame and drawer fronts)
- Drawer slides (20–24 inches)
- Screws, brackets, and nails
- Wood glue
- Hinges (for the lift-up compartment)
- Hydraulic lift struts (optional)
- Measuring tape
- Circular saw or jigsaw
- Drill and screwdriver set
- Sandpaper (120- and 220-grit)
- Paint or wood stain
- Handles or drawer pulls
I also bought some felt lining to protect items inside the drawers and prevent noise while driving. It’s a small detail, but it makes a noticeable difference in comfort.
Building the Frame
To start, I removed the mattress and checked the bed base. Most RV beds are built on a simple plywood platform, which can be unscrewed or lifted off. I cut a rectangular frame from my plywood sheets to fit snugly within the bed’s base dimensions.
The frame needed to be strong enough to support the mattress and my weight while sleeping. I used wooden cleats along the interior walls of the base for reinforcement. The cleats acted as supports for the top panel and divided the frame into separate compartments for drawers.
After the frame was assembled, I sanded the edges to smooth them out. I wanted everything to fit tightly without friction when opening and closing the drawers.
Installing Drawer Slides
Installing drawer slides can be tricky in small spaces, but they make a huge difference in accessibility. I used heavy-duty ball-bearing slides rated for at least 100 pounds. These ensure the drawers move smoothly even when packed full of items.
I attached the slides to the inside walls of the frame and tested them with temporary panels before securing the drawer boxes. Accuracy here is critical, if the slides are off by even half an inch, the drawers won’t align properly.
Once I was sure everything lined up perfectly, I moved on to building the drawer boxes.
Building the Drawers
Each drawer box was made from ¾-inch plywood for durability. I cut four panels per drawer, two sides, a front, and a back, and attached them using wood glue and screws. Then, I added a bottom panel made of thinner plywood to reduce weight.
Before assembling, I lightly sanded each piece and rounded off the corners to avoid splinters. Once assembled, I painted the inside of the drawers with a moisture-resistant coating to prevent mold, especially since RVs can get humid.
After mounting the drawers into place, I added the fronts and attached simple metal handles. I made sure they were flush with the bed frame for a clean, professional look.
Creating the Lift-Up Storage Section
For the larger compartment at the back, I used a lift-up design with hinges. I cut the top plywood panel to fit over the section and attached it with two sturdy hinges along the back edge. When lifted, it revealed a deep storage area perfect for blankets, sleeping bags, or spare pillows.
To make lifting easier, I installed hydraulic struts on both sides. These allow the panel to open smoothly and stay open without holding it manually. It’s an upgrade worth considering if you plan to use that section frequently.
I also added a thin strip of weatherstripping along the edges to keep dust from entering the compartment during travel.
Painting and Finishing
Once the construction was complete, I decided to paint the entire base to match the RV’s interior. I used a semi-gloss white finish, which made the space feel brighter and cleaner. You can also use stain for a more natural wood look.
After the paint dried, I lined the inside of the drawers with adhesive felt. It kept things from sliding around while driving and added a soft touch that protected delicate items.
The final step was reinstalling the mattress and testing everything. The drawers glided out smoothly, the lift-up section worked perfectly, and the extra storage instantly made my RV feel more organized.
Creative Storage Ideas
Under-bed storage doesn’t have to be limited to drawers and compartments. Depending on your needs, you can experiment with different ideas:
- Rolling bins on casters: Great for quick access without building permanent drawers.
- Vacuum-sealed bags: Perfect for storing bulky seasonal clothes or bedding while saving space.
- Tool organizers: For campers who carry repair kits or small hardware.
- Hidden safe or lockbox: Ideal for keeping important documents or valuables secure while traveling.
You can also add LED strip lighting inside the compartments for better visibility at night. I installed motion-sensor LED lights that turn on automatically when I open a drawer, simple but very useful.
Tips for Maximizing Space
One lesson I learned during this project is that organization matters as much as construction. To maximize space, I grouped similar items together in labeled bins inside the drawers. I used shallow containers for smaller items like cords and gadgets, and deeper bins for bulkier things like shoes and tools.
Another helpful trick is using soft fabric organizers. They conform to the shape of the drawer and prevent rattling during travel. For the lift-up section, I used mesh bags that could be stacked or compressed easily.
If your RV has limited vertical clearance under the bed, consider raising the platform slightly. Adding an extra few inches of height can dramatically increase storage capacity without affecting sleeping comfort.
Common Mistakes to Avoid
While under-bed storage projects aren’t overly complex, a few common mistakes can cause frustration later. The biggest one is not checking for hidden wires or plumbing lines before drilling. Always inspect thoroughly to avoid costly repairs.
Another mistake is using weak materials. Thin plywood or cheap slides may seem sufficient at first but tend to warp or break with constant use. Investing in sturdy hardware ensures the structure lasts.
Lastly, don’t forget about ventilation. Completely sealing the compartments can trap moisture, especially in humid climates. Drill a few small holes or add vents to promote airflow and prevent mold.
Cost Breakdown
The total cost of my under-bed storage project was around $120. Here’s a rough estimate of what I spent:
- Plywood sheets: $50
- Drawer slides: $30
- Hinges and hardware: $15
- Paint and felt liner: $15
- Hydraulic struts: $10
If you already have some materials or tools on hand, your costs could be even lower. Compared to buying pre-built RV storage units, which often cost over $300, this project is both affordable and customizable.
Maintenance and Upkeep
Like any DIY modification, maintaining the storage area helps keep it functional for years. I inspect the drawer slides every few months and apply a bit of lubricant if they start to feel stiff. I also wipe the inside with a damp cloth to remove dust and check for moisture buildup.
If I ever notice any rattling during travel, I use adhesive foam padding around the edges to cushion the drawers. It prevents noise and ensures nothing shifts around while driving.
Why Under-Bed Storage Matters in an RV
Having proper under-bed storage in an RV is more than just a convenience, it’s a game-changer. It declutters the living area, improves accessibility, and gives you peace of mind knowing everything has its place. For long trips or full-time RV living, it means less chaos and more comfort.
The project also adds value to your RV. If you ever decide to sell it, efficient custom storage is a major selling point that appeals to buyers who understand the importance of space optimization.
Expanding the Project
Once I saw how much difference the under-bed storage made, I started applying similar ideas elsewhere in my RV. I added sliding drawers under the sofa and small compartments in unused corners. The same principles apply, measure, plan, and make every inch count.
If you enjoy DIY work, you can even incorporate power outlets or USB ports into the under-bed area. This makes it a convenient spot to charge electronics overnight without cluttering the side tables.
Conclusion
DIY under-bed storage projects for RVs are among the most rewarding upgrades any traveler can tackle. They transform wasted space into a functional, organized area that keeps your belongings secure and easy to access.
The best part is that it doesn’t require advanced carpentry skills, just patience, basic tools, and a bit of creativity. From pull-out drawers and lift-up compartments to rolling bins and hidden safes, there are endless ways to customize the space based on your needs.
After completing my project, I noticed how much cleaner and more open the RV felt. Every trip since then has been more enjoyable because I know exactly where everything is stored. If you’re looking for a practical DIY upgrade that improves both form and function, building under-bed storage should be at the top of your list. It’s efficient, cost-effective, and truly worth every bit of effort.