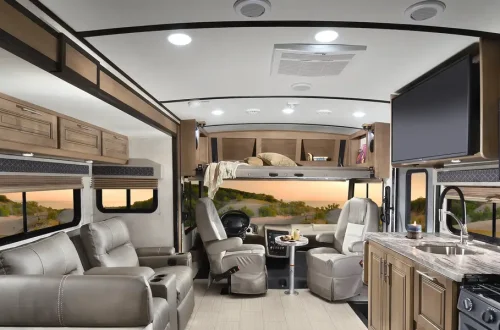
Space in an RV is like gold. Every inch matters, especially when you’re trying to balance comfort and functionality. A dining table is essential for meals, work, and even games, but a traditional one takes up precious floor space. That’s why a fold-down dining table is such a practical solution. It’s compact, versatile, and gives you the freedom to make your RV interior more efficient. I decided to build my own fold-down table after realizing how much room the old fixed one consumed. The process was surprisingly straightforward, and the results transformed my dining area completely.
If you want to create a functional, space-saving dining setup in your RV, here’s a detailed guide on how to build a fold-down RV dining table from scratch. I’ll walk you through materials, measurements, installation, and a few helpful tips to make the project easier and more rewarding.
Planning the Table Design
Before cutting any wood or drilling holes, planning is the most critical step. I started by measuring the available wall space where the table would be mounted. It needed to fold down easily without obstructing other furniture or pathways. The ideal location was next to the bench seating area where I usually ate and worked.
When planning, I considered the table’s dimensions. A good size for an RV dining table is around 24 to 30 inches wide and 36 to 40 inches long. That gives enough surface area for two people to eat comfortably without feeling cramped. I also had to ensure the folded-down position didn’t block access to outlets or cabinets.
For the fold-down mechanism, I decided on a wall-mounted design with folding brackets. These brackets lock securely when extended and release easily when you want to fold the table down. It’s one of the simplest and most reliable setups for RV use.
Gathering Materials and Tools
Once I finalized the design, I made a list of materials. Most of what I needed was available at the local hardware store. Here’s what I used for my build:
- One piece of hardwood or plywood (¾-inch thick, cut to the desired table size)
- Two heavy-duty folding brackets
- Screws and wall anchors suitable for the RV wall type
- Wood stain or paint (optional for finishing)
- Sandpaper (120- and 220-grit)
- Measuring tape
- Drill and bits
- Level
- Screwdriver
- Pencil and masking tape
- Small hinges (optional, for a collapsible leg support)
If you want the table to match your RV’s interior, you can use the same finish or color scheme. I went with a natural wood stain to keep a warm, rustic look that fit my RV’s cozy interior.
Preparing the Wall Surface
Before mounting anything, I needed to inspect the wall. RV walls are often made of lightweight materials, so they can’t always support heavy loads directly. I located the studs using a stud finder and marked them with masking tape. This ensured that the table brackets would be attached to a solid structure rather than just thin paneling.
If your chosen wall doesn’t align with studs, you can install a support board horizontally across them. This board distributes the weight of the table evenly and gives you a secure mounting surface. I used a 1×4-inch board painted the same color as the wall so it blended in nicely.
Cutting and Sanding the Tabletop
Once the wall was ready, I moved on to the tabletop. I cut the wood to my preferred size using a circular saw, then rounded off the corners slightly to prevent sharp edges. After cutting, I sanded the entire surface thoroughly, first with 120-grit sandpaper, then finishing with 220-grit for a smooth touch.
If you prefer a polished finish, you can apply wood stain or paint at this stage. I used a light oak stain followed by a clear polyurethane coat to protect against spills and scratches. Make sure to let it dry completely before proceeding.
Installing the Folding Brackets
The folding brackets are the heart of the fold-down table design. I placed the brackets about 3 inches in from each side of the tabletop. Before drilling, I used a level to ensure they were perfectly even.
I marked the holes on both the tabletop and wall, then pre-drilled them to prevent splitting. Next, I attached the brackets to the wall using heavy-duty screws directly into the studs. If you’re using a support board, secure it first, then mount the brackets to it.
Once the brackets were firmly in place, I connected the tabletop. It’s crucial to double-check alignment before tightening all the screws. The table should lie flat against the wall when folded up and rest evenly when extended.
Adding Optional Leg Support
While folding brackets can handle most of the weight, adding a collapsible leg provides extra stability, especially for larger tables. I used a simple wooden leg attached with a small hinge so it could fold flat when not in use.
To make it fit perfectly, I measured the height from the floor to the underside of the table when extended, cut the leg to that length, and added a rubber foot at the bottom to prevent slipping. It gave the table a sturdier feel, especially when I leaned on it during meals or laptop work.
Securing the Folded Position
When the table is folded up, it should stay securely in place without rattling while driving. I used a magnetic latch system, similar to those on RV cabinets. One magnet was installed on the wall, and a metal plate was attached to the back of the table.
Another option is to use a hook-and-eye latch or a simple Velcro strap. The goal is to keep the table from swinging out during travel. After testing a few options, I found the magnetic latch clean and easy to use.
Testing the Fold-Down Mechanism
After everything was mounted, I tested the table several times. It folded down smoothly and locked into position firmly. I placed a bit of weight on it to make sure it held steady, plates, cups, even my laptop for good measure.
The trick was to ensure that the brackets locked evenly. If one side was tighter than the other, I adjusted the screws slightly until it was balanced. Once everything operated smoothly, I gave the hinges and brackets a light spray of lubricant to prevent squeaks.
Finishing Touches
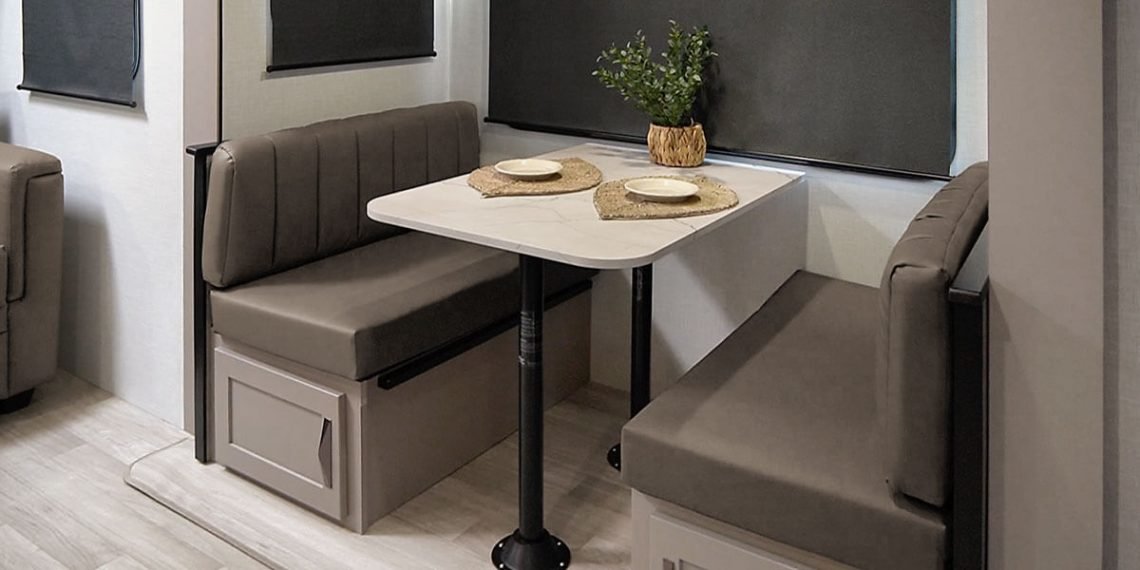
To make the table blend into the RV’s design, I added a few final touches. I installed a small edge trim around the tabletop to give it a finished look and prevent crumbs from falling off. I also mounted a narrow shelf above the table to store utensils or small decorative items.
For comfort, I placed a padded bench along one side and a foldable chair on the other. When the table is folded away, it frees up enough space to stretch or use the area for other activities.
Tips for Durability and Maintenance
Building the table is only half the job, keeping it in good shape ensures it lasts for years. I clean it regularly with a mild wood cleaner and avoid placing heavy or sharp objects on it.
If I notice the brackets starting to loosen, I tighten the screws immediately. The constant motion of travel can shake things loose over time, so a quick inspection every few months helps. I also apply a fresh coat of wood polish once or twice a year to maintain the surface finish.
For those who prefer a lighter option, consider using aluminum brackets and thinner plywood. It reduces the overall weight and still provides enough strength for everyday use.
Alternative Design Ideas
Fold-down tables can be customized in countless ways depending on your space and style. One creative variation is to install a fold-down table with a built-in storage compartment behind it. When folded up, the back panel serves as a small shelf or picture frame.
Another idea is to attach the table to the side of a cabinet instead of the wall. This design is great for compact campers where wall space is limited. You can even add cup holders or USB charging ports to make it more functional.
For a more rustic or farmhouse look, I’ve seen people use reclaimed wood or butcher block tops. It adds character and durability while giving the RV a cozy, homelike vibe.
Common Mistakes to Avoid
Building a fold-down RV table might seem simple, but a few small mistakes can lead to frustration. The first is misjudging height. Make sure the table sits at a comfortable level for dining, usually around 28 to 30 inches from the floor.
Another common mistake is ignoring wall strength. Mounting directly into thin paneling can cause the table to pull out over time. Always anchor into studs or use a backing board for reinforcement.
Finally, ensure that the brackets can handle the table’s weight. Lightweight brackets may bend or fail, especially if the table is used for heavy items like laptops or small appliances. Spending a little extra on high-quality hardware pays off in reliability and peace of mind.
Budget Breakdown
Building a fold-down RV dining table doesn’t have to be expensive. My total cost was around $75, including wood, brackets, screws, and finishing materials. If you already have some of the tools or leftover materials, the cost can drop significantly.
Here’s a rough estimate:
- Plywood or hardwood board: $30
- Folding brackets: $25
- Screws and anchors: $5
- Stain or paint: $10
- Miscellaneous (magnets, hinges, polish): $5
Compared to pre-made RV tables that often cost $150 or more, building one yourself is a budget-friendly and satisfying alternative.
Practical Uses Beyond Dining
One of the best things about a fold-down table is its versatility. I use mine not just for meals but also as a mobile workstation. It’s sturdy enough for my laptop, coffee, and notebook, making it perfect for working on the road.
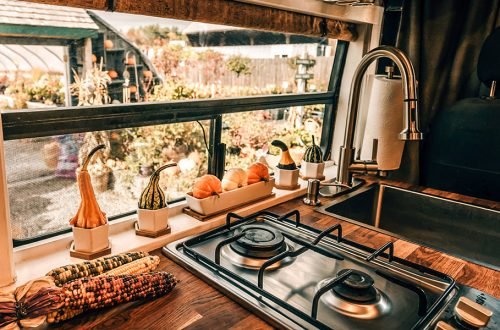
It also doubles as a prep station when cooking. I simply fold it down near the kitchen area for extra counter space, then fold it back up when done. The flexibility makes it one of the most practical additions I’ve ever made to my RV.
Safety Considerations
Safety should always come first when working with power tools or mounting anything in your RV. Always wear safety glasses when cutting or drilling, and double-check measurements before making any holes in the wall.
It’s also a good idea to avoid running screws near wiring or plumbing. Many RV walls conceal cables or pipes, so consult your RV’s manual or use a wire detector if you’re unsure.
Once installed, make sure the table doesn’t interfere with windows, outlets, or slide-outs. The last thing you want is for it to block movement or cause damage when traveling.
Why a Fold-Down Table is Worth It
After installing my fold-down dining table, the difference in my RV’s space was remarkable. I gained enough room to move freely, and the area felt less cluttered. Folding it down took only seconds, and it stayed securely in place during travel.
Beyond the practicality, building the table myself gave me a sense of accomplishment. Every time I sit down for a meal, I appreciate how much thought and effort went into it. It’s a project that improves both functionality and aesthetics, two qualities that define good RV design.
Conclusion
Building a fold-down RV dining table is one of the most rewarding DIY projects for RV enthusiasts. It maximizes space, adds convenience, and allows for customization that fits your exact needs. The process doesn’t require advanced carpentry skills, just careful planning, the right tools, and a bit of patience.
From cutting and mounting to adding the final touches, every step brings you closer to a more efficient and personalized RV interior. Whether you’re traveling full-time or just on weekend adventures, this project will make your living space more practical and enjoyable.
With the right approach and attention to detail, your fold-down RV dining table will not only look great but also serve as a functional centerpiece for meals, work, and leisure, making every journey feel just a little more like home.