The way an RV looks often says a lot about how well it’s cared for. A shiny exterior doesn’t just turn heads on the highway, it protects the body, extends the life of the paint, and helps maintain the vehicle’s value. The exterior of an RV faces constant exposure to the elements, sun, rain, dirt, bugs, and road debris. Without consistent maintenance, that once-brilliant finish can fade, peel, or even crack. Over time, I’ve developed a routine that keeps my RV looking fresh and prevents damage from creeping in unnoticed.
Washing the RV Regularly
Regular washing is the foundation of exterior maintenance. Dust, pollen, bird droppings, and road grime gradually wear away at the paint if they aren’t removed. I wash my RV every two to three weeks during travel season, or more often if I’ve been through muddy or salty roads.
I start by rinsing off the entire vehicle with a hose to remove loose dirt and debris. Then, I use a soft-bristle brush and a bucket of RV-safe soap, never dish detergent, since it strips away wax and protective coatings. I wash from the top down in small sections, rinsing each area before moving on. That prevents soap from drying on the surface and leaving streaks.
The roof gets special attention because it collects the most dirt and runoff, which can stain the sides over time. Once everything is clean, I rinse again thoroughly and dry with a microfiber towel or a soft squeegee to prevent water spots.
Regular washing not only keeps the paint shining but also allows me to spot early signs of wear, like chips or cracks, before they become major problems.
Waxing to Protect the Paint
Waxing adds a layer of protection between the paint and the environment. It helps repel water, reduces oxidation, and keeps UV rays from dulling the color. I usually wax my RV twice a year, once at the beginning of the travel season and once before storing it for winter.
I apply the wax in small circular motions using a foam applicator pad, letting it haze slightly before buffing it off with a clean microfiber cloth. It’s a time-consuming process, especially on a large RV, but the results are worth it. The surface becomes slick and glossy, and dirt is less likely to cling to it.
For fiberglass exteriors, I sometimes use a polymer sealant instead of traditional wax. It lasts longer and provides even stronger protection against UV rays. Keeping a solid protective layer on the RV helps the paint stay vibrant for years.
Polishing the Surface
When the finish starts to look dull despite regular washing and waxing, polishing can bring back its shine. Polishing removes oxidation and fine scratches, restoring the smoothness of the paint surface.
I use a mild RV polish with a dual-action buffer, moving slowly across the panels to avoid burning the paint. After polishing, I apply a coat of wax or sealant to lock in the renewed shine. This step isn’t needed often, usually once a year is enough, but it makes a big difference in keeping the RV looking like new.
Preventing Sun Damage
Sun exposure is one of the biggest threats to an RV’s exterior. Prolonged UV exposure fades paint and causes oxidation, especially on darker colors. Whenever possible, I park my RV under shade or use an RV cover. If I’m camping in an open area, I position the vehicle so that one side isn’t constantly exposed to direct sunlight throughout the day.
Applying UV-protectant products on the paint, decals, and even rubber seals helps prevent fading and cracking. These protectants act like sunscreen for the RV, blocking the harmful rays that break down materials over time.
During storage, I always use a breathable RV cover that shields against sunlight and rain but allows moisture to escape. That keeps both the paint and the underlying structure safe from heat buildup and mold.
Caring for Decals and Graphics
Many RVs feature colorful decals or vinyl graphics that enhance their appearance but require different care than painted surfaces. I avoid abrasive brushes or harsh cleaners on these areas, as they can peel or fade the decals.
Instead, I gently wash them with mild soap and water and rinse thoroughly. When waxing around decals, I use a non-petroleum-based wax and apply it carefully so that the edges don’t lift. If I notice peeling or cracking, I seal the affected edges with a clear coat or have a professional replace the damaged section before it spreads.
Proper care for the decals keeps the RV looking uniform and prevents premature aging of the graphics.
Cleaning the Roof and Gutters
The roof often gets overlooked, but it plays a crucial role in protecting the RV’s structure and appearance. Dirt and leaves trapped up there can stain the sides when it rains, and unchecked buildup can even cause leaks.
I clean the roof with a soft brush and RV roof cleaner at least twice a year. If it’s a rubber roof, I use a cleaner specifically designed for EPDM or TPO materials. I also inspect the seams, vents, and caulking while I’m up there, ensuring everything is sealed tightly.
Gutters are just as important. When they clog, water runs down the sides instead of draining away, leaving streaks and water stains. Keeping the roof and gutters clean not only protects the paint but also prevents moisture damage to the RV’s body.
Removing Stains and Black Streaks
Black streaks along the sides of an RV are a common annoyance caused by dirt and residue washing down from the roof. Regular washing helps, but sometimes those streaks need a bit more effort.
I use a dedicated black streak remover spray, applying it to a small section at a time and wiping it clean with a microfiber cloth. For tougher spots, I let the cleaner sit for a few minutes before scrubbing gently with a soft pad.
After removing the streaks, I rinse the area and follow up with a coat of wax. That not only restores the shine but also prevents future streaks from sticking as easily.
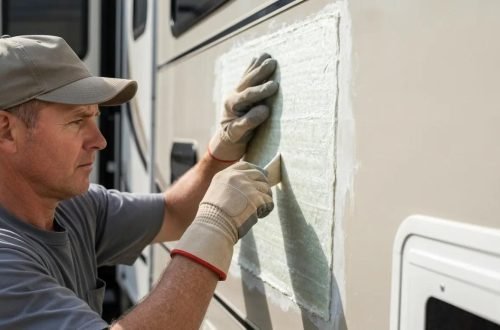
Fixing Chips and Scratches Early
Even with careful driving, small chips and scratches are inevitable. Rocks kicked up from the road or minor brushes with branches can damage the paint surface. I always keep a small repair kit on hand with touch-up paint that matches my RV’s color code.
As soon as I notice a chip, I clean the area thoroughly, apply a small dab of paint, and let it dry completely. For deeper scratches, I use fine-grit sandpaper to smooth the edges before applying primer and touch-up paint.
Fixing minor damage early prevents rust or peeling from spreading, preserving the RV’s overall appearance and protecting the underlying metal or fiberglass.
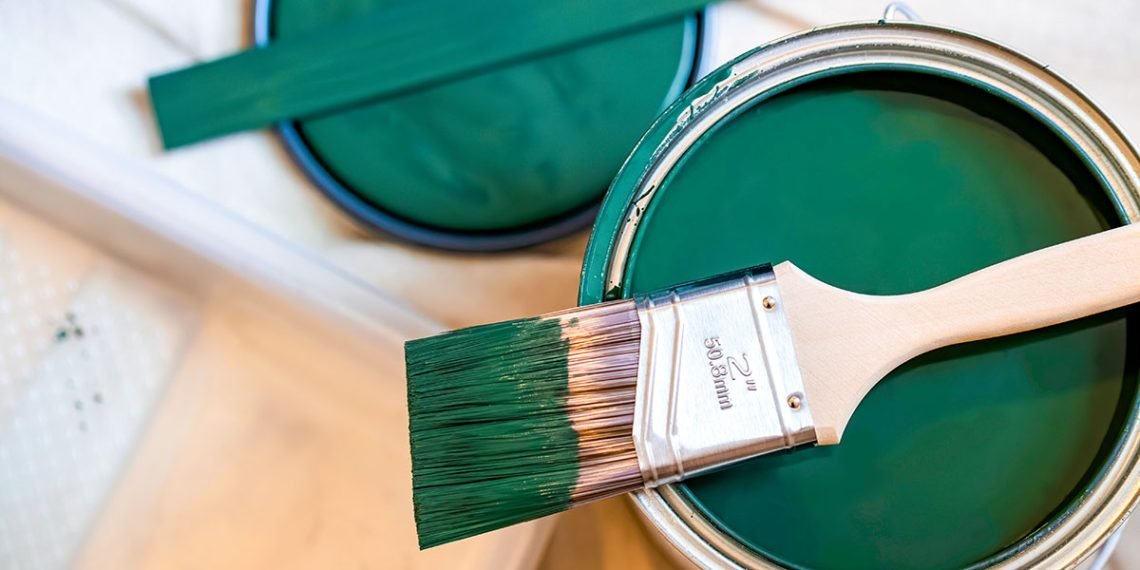
Avoiding Harsh Cleaning Products
It’s tempting to grab any cleaner that promises a sparkling finish, but not all products are safe for RV exteriors. I stay away from bleach, ammonia, and abrasive compounds unless they’re specifically made for RV use.
These chemicals can strip the paint, damage decals, and dry out rubber seals. I stick to pH-balanced RV cleaners, which are gentle but effective. Whenever I test a new product, I apply it to a small hidden area first to make sure it doesn’t discolor the surface.
Using the right cleaning materials extends the life of both the paint and the protective coatings.
Maintaining Metal and Chrome Trim
Many RVs have metal or chrome accents that add a sleek touch to the design. These areas, however, can tarnish quickly if not maintained. I clean them using a non-abrasive metal polish and a microfiber cloth.
Once clean, I apply a thin layer of wax or protective spray to prevent oxidation. For aluminum trims, I use a product designed for that specific metal to avoid dulling the finish. Consistent care keeps the accents shining and prevents corrosion from setting in.
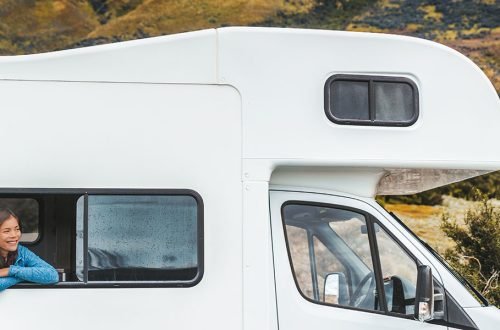
Cleaning Windows and Seals
Windows contribute a lot to the overall look of an RV, and dirty or streaky glass can make even a well-maintained exterior look neglected. I use a vinegar-based glass cleaner and a soft towel to clean both sides of the windows.
While cleaning, I also inspect the rubber seals around the edges. If they start to dry or crack, I apply a rubber conditioner to keep them supple. Seals that stay flexible do a better job preventing water from seeping into the RV.
Clean windows and healthy seals not only improve appearance but also maintain insulation and comfort inside.
Using Proper Washing Tools
The right tools make all the difference in maintaining the exterior. I use extendable wash brushes, soft sponges, and microfiber towels to avoid scratches. A foam cannon attached to the hose helps spread soap evenly and reduces the amount of scrubbing required.
I never use pressure washers on high settings because they can strip paint or damage seals. Gentle water pressure combined with a good cleaner gets the job done safely.
Good equipment doesn’t just make cleaning easier, it protects the finish from unnecessary wear.
Protecting the Undercarriage
While most people focus on the visible parts of their RV, the undercarriage deserves attention too. Road salt, mud, and grime collect underneath and can lead to corrosion if ignored. After every long trip, especially during winter, I rinse the underside thoroughly with a hose.
If the RV has metal components, I apply an anti-corrosion spray to add an extra layer of protection. This routine not only preserves the frame but also prevents rust from creeping up into visible areas.
A clean undercarriage supports the integrity of the entire RV structure and keeps the exterior looking solid for years.
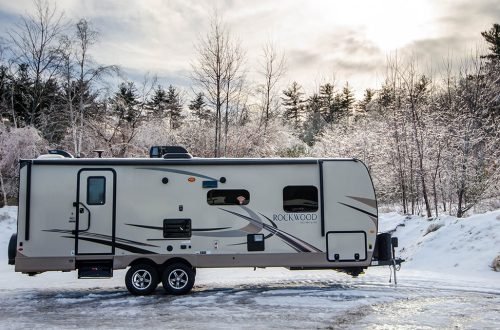
Seasonal Care and Long-Term Storage
Before putting my RV into storage for the season, I give it one last thorough wash and wax. This final layer of protection keeps dust and moisture from damaging the paint while it’s not in use.
I store it under a covered area whenever possible and use tire covers and an RV cover to shield it from sunlight and debris. During storage, I check periodically to ensure moisture isn’t building up under the cover, as trapped humidity can cause mildew.
Taking these steps means I can start the next travel season with minimal prep and a gleaming exterior.
Final Thoughts
Maintaining the paint and exterior finish of an RV is about more than just looks, it’s about preserving the investment and ensuring the vehicle stays protected from the elements. Regular washing, waxing, and inspecting create a habit that pays off every mile of the journey.
When I take the time to care for the exterior, I feel proud pulling into any campground or rest stop. A clean, well-maintained RV not only looks beautiful but also reflects the care and attention that go into every trip. By making exterior maintenance part of the routine, I can enjoy every adventure knowing that my home on wheels will stay strong and shining for years to come.