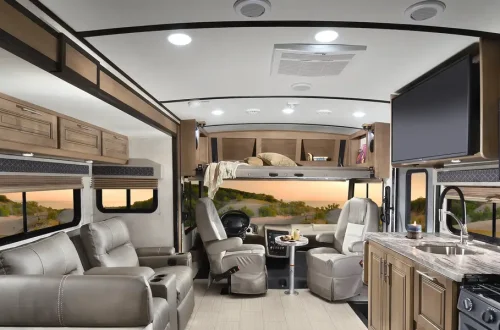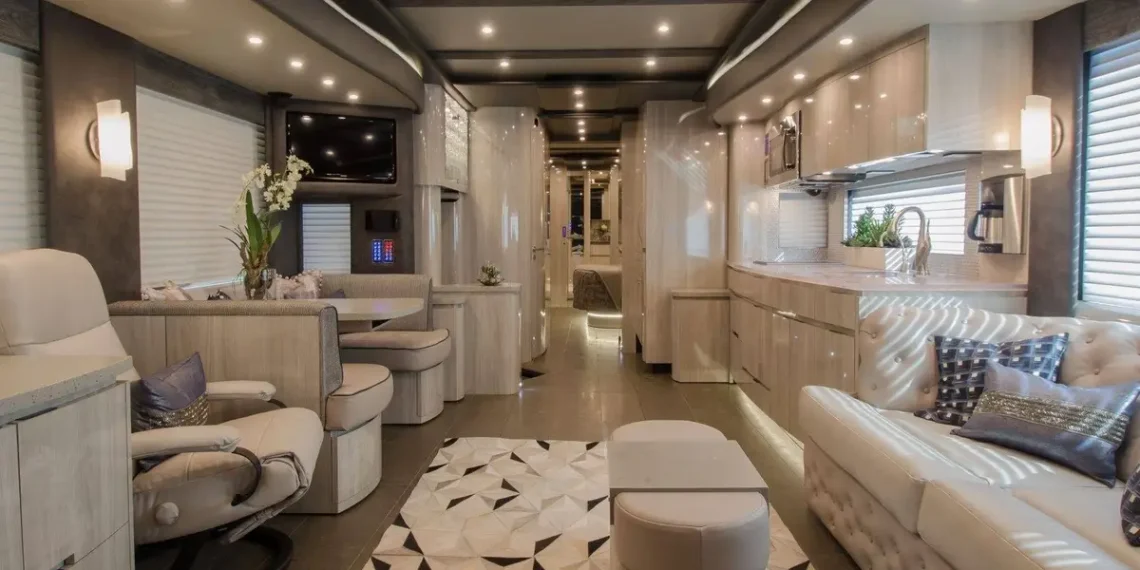
RV furniture takes a beating over time. Between long road trips, temperature changes, and daily use, the fabric can fade, tear, or simply lose its charm. Buying new RV furniture can be expensive, and sometimes the pieces that fit perfectly in your layout aren’t easy to replace. Reupholstering your furniture yourself can bring new life into your RV interior without breaking the bank. It also gives you the freedom to pick colors, fabrics, and textures that reflect your personality and travel style.
I’ve found that reupholstering RV furniture isn’t just a practical project, it’s also a rewarding one. Once you see your finished work, it’s hard not to feel a sense of pride every time you sit down. Whether you’re dealing with worn-out dinette cushions, faded recliners, or outdated sofas, a little effort can make your RV feel brand new again.
Assessing What Needs Reupholstering
Before jumping into the project, take a good look at your furniture. Some pieces may only need new fabric, while others might benefit from replacing foam or adding padding for extra comfort. RV furniture tends to be lighter and more compact than home furniture, which means it’s easier to handle but may require specific tools or techniques.
Make a list of everything you want to update, couches, dinette benches, chairs, or headboards. Then, inspect the frames and springs to ensure they’re still sturdy. If the structure is damaged, it’s better to fix it before reupholstering so your work lasts longer.
Knowing what you’re working with helps you plan your materials and time. Smaller items like cushions can be done in a few hours, while a sofa might take a weekend.
Gathering the Necessary Tools and Materials
The key to a smooth reupholstery project is having the right tools on hand. Here’s a basic list I always keep nearby:
- Fabric of your choice
- Staple gun and staples
- Screwdriver set
- Scissors or fabric shears
- Needle and heavy-duty thread
- Pliers (for removing old staples)
- Measuring tape
- Foam or batting (if replacing padding)
- Fabric glue or spray adhesive (optional)
You don’t need professional-grade tools. A simple manual staple gun and basic sewing supplies will do just fine for most RV furniture. However, if you plan to do multiple pieces or work with thick fabrics, a pneumatic stapler can make things easier.
Picking the Right Fabric
Choosing the right fabric is essential, not just for looks but also for practicality. Since RVs experience changing temperatures and humidity, durable, easy-to-clean materials are your best bet.
Vinyl and faux leather are excellent for high-use areas like dinette benches. They wipe clean easily and resist spills. For couches or recliners, I prefer a heavy upholstery fabric with a bit of stretch, it’s easier to pull tight and staple without wrinkles.
Outdoor or marine-grade fabric is another solid option. It’s UV-resistant, which helps prevent fading, and holds up well in fluctuating conditions. Before cutting your material, lay it flat for a few hours to let any creases relax.
Removing the Old Upholstery
Start by taking off the furniture covers carefully. Remove screws, brackets, or fasteners that attach cushions or panels to frames. Use pliers or a flathead screwdriver to pull out old staples or tacks.
Try not to rip the old fabric, you’ll need it as a pattern for cutting the new material. Lay each piece flat and label it so you know where it goes later. This step might take a while, but it’s worth it. Properly removing and labeling everything saves headaches during reassembly.
If the foam inside looks worn out or smells musty, replace it. Foam comes in various densities; medium to firm foam works best for most RV seating. Wrapping it in batting gives a softer, more rounded look once covered.
Measuring and Cutting the New Fabric
With the old fabric pieces laid out, trace them onto the new material using chalk or a fabric pen. Add about an inch of extra fabric on all sides to allow room for stapling and adjustments.
When cutting, make sure your lines are straight and smooth. Uneven cuts can cause wrinkles when stretched over the frame. I always double-check measurements before cutting because small errors can make a big difference in how snug the fit is.
If you’re reupholstering multiple cushions, label each fabric piece to match its corresponding cushion or part. It keeps the process organized and efficient.
Reupholstering Cushions
Cushions are usually the simplest place to start. Lay your fabric face down, then center the foam or cushion on top. Pull the fabric tightly over the edges and staple it to the backside. Start with one side, then pull the opposite side tight before stapling. This ensures even tension and prevents wrinkles.
Work your way around the corners carefully, folding them neatly like wrapping a present. Cut away excess fabric if needed to avoid bulk. Once everything is smooth and tight, trim off any extra material near the staples for a clean finish.
If your cushions have removable covers, you can sew new ones instead. Use the old covers as templates, leaving room for zippers or Velcro closures. This approach looks more polished and makes cleaning easier later on.
Working on Larger Pieces
Larger items like sofas or recliners take more patience, but the process is similar. Start with one section at a time, armrests, backs, and seats, so you don’t get overwhelmed.
Attach the fabric by pulling it tight and stapling along the underside or back where the seams won’t show. Keep checking for smoothness as you go. If your furniture has buttons or tufting, you can recreate the look by using upholstery needles and thread to pull fabric inward and secure it with knots or buttons.
Reupholstering large furniture often means disassembling it first. Most RV couches and benches are bolted together for easy removal. Working on them outside the RV or in a garage gives you more space and better lighting.
Adding Finishing Touches
Once all the fabric is attached, it’s time to reassemble everything. Tighten screws and reattach brackets or hinges. If you want to elevate the look, add decorative trim, nailhead accents, or contrast stitching. Small details like these can make your reupholstered furniture look like it came straight from a custom shop.
A fabric protector spray can also help extend the life of your new upholstery. It creates a barrier against spills and stains, which is especially helpful in high-traffic RV spaces.
Budget-Friendly Tips
Reupholstering can be surprisingly affordable if you plan carefully. Buying fabric remnants or end-of-roll pieces from upholstery stores can save a lot. You can also check thrift shops for inexpensive materials or gently used furniture that can be repurposed for spare parts.
If you’re covering large pieces, neutral fabrics like beige or gray are often cheaper and easier to blend with other decor. A few accent pillows or throws can add color without increasing costs.
Foam can be pricey, but trimming larger pieces to size yourself rather than buying pre-cut cushions keeps expenses low. Most home improvement stores can cut foam to your measurements for a small fee.
Common Mistakes to Avoid
One of the biggest mistakes beginners make is not pulling fabric tight enough. Loose fabric wrinkles easily and makes furniture look sloppy. Always stretch it firmly before stapling.
Avoid using thin or stretchy materials not meant for upholstery. They might look nice initially but won’t hold up to frequent use. Also, make sure your staples are long enough to grip both the fabric and wood frame securely.
Finally, don’t rush the project. Taking your time ensures cleaner seams and fewer mistakes. If you’re unsure about a section, step back and assess before committing.
Maintaining Your Reupholstered Furniture
Once your furniture is done, proper maintenance will keep it looking new for years. Vacuum regularly to remove dust and crumbs, and spot-clean stains right away using mild soap and water.
Avoid harsh cleaners or scrubbing, especially on vinyl or treated fabrics. For stubborn stains, a mix of vinegar and water works well on most materials. Keeping your RV well-ventilated also helps prevent moisture buildup that can lead to mildew.
Adding removable covers or throws for everyday use can further protect your work, especially if you travel with pets or kids.
Why DIY Reupholstery Is Worth It
Reupholstering RV furniture yourself isn’t just about saving money, it’s about customizing your space exactly how you want it. You can match your fabrics to curtains, flooring, or wall accents and create a cohesive interior that feels personal.
It also gives old furniture a second life. Instead of tossing out worn pieces, you’re making sustainable choices that reduce waste. Plus, doing it yourself builds confidence for tackling other RV improvement projects.
The process can be therapeutic too. There’s a certain satisfaction in working with your hands and seeing the transformation happen piece by piece. Each staple and seam becomes part of a story, one that makes your RV truly your own.
Final Thoughts
Reupholstering RV furniture yourself may seem like a big task at first, but it’s entirely doable with patience and planning. Once you gather your materials, measure carefully, and take it step by step, you’ll be amazed at how professional the results can look.
This kind of DIY upgrade breathes new life into your RV’s interior, turning tired furniture into inviting, comfortable pieces that reflect your taste and style. The best part is knowing that every stitch and staple came from your own effort, a reminder that you don’t need a massive budget to create something beautiful.
Whether you’re prepping for a cross-country adventure or just want to freshen up your weekend getaway rig, reupholstering your furniture yourself is one of the most satisfying upgrades you can make. It’s affordable, creative, and incredibly rewarding every time you sit down to enjoy the results.