Upgrading an RV bathroom doesn’t need to drain your wallet. With a bit of creativity and smart planning, you can transform a small, outdated space into a clean, modern, and functional area without spending more than $500. After experimenting with several affordable improvements myself, I realized that small changes can make a massive difference in how comfortable and inviting an RV bathroom feels.
Below are some of the most effective and budget-friendly ways to give your RV bathroom a new lease on life.
Freshen Up the Walls with Peel-and-Stick Wallpaper or Panels
One of the easiest ways to make your RV bathroom look new is by updating the walls. Most RV bathrooms come with dull wallpaper or plain beige walls that make the space feel cramped. Peel-and-stick wallpaper or lightweight wall panels are perfect for RVs because they’re inexpensive, easy to install, and removable if you ever change your mind.
Moisture-resistant wallpaper is best for bathrooms, and you can find patterns that mimic tile, wood, or marble. I’ve seen entire RV bathrooms transformed with just a few rolls of waterproof wallpaper that cost less than $50 total. Choose light colors to make the space feel open, or go for a modern geometric design for a more contemporary look.
If you prefer a textured finish, consider faux shiplap or adhesive wall panels made from PVC. These add depth and are resistant to moisture, making them both stylish and practical.
Replace the Faucet for a More Modern Touch
A faucet upgrade can instantly elevate the look of your bathroom. Many older RV faucets are plastic and prone to leaks. Swapping yours out for a brushed nickel or matte black metal faucet gives the entire sink area a more polished appearance.
You don’t have to spend a lot, either. Many RV-compatible faucets are available online for around $40 to $60. Make sure you measure the existing faucet and match the hole spacing before buying a new one. Most upgrades take less than an hour to install and can completely refresh your bathroom’s vibe.
Improve Lighting for a Brighter, More Spacious Feel
Lighting can make or break an RV bathroom. Poor lighting makes the space feel smaller and more dated, while bright, warm lighting makes it inviting. Replacing old fluorescent or dull fixtures with LED lighting can make an incredible difference.
LED puck lights or stick-on light bars are easy to install and don’t require rewiring. A pack of motion-activated LED strips can even be placed under cabinets or along the mirror edge for ambient lighting. These lights are energy efficient and cost anywhere from $20 to $40.
If you want a more traditional look, upgrade the main light fixture with an LED dome light in a modern design. Adding better lighting not only enhances the appearance but also makes daily tasks like shaving or makeup application easier.
Add a New Showerhead for Better Water Pressure
Few things are worse than a weak shower stream after a long day of travel. Replacing your showerhead is one of the most affordable upgrades you can do. Many RV showerheads are made with low-quality plastic and deliver poor water pressure.
For under $40, you can find eco-friendly showerheads that boost water flow without wasting water. Some models even have multiple spray patterns or a built-in pause feature to help conserve water when boondocking.
Look for handheld options, as they make cleaning easier and offer more flexibility in a tight space. You’ll notice the difference immediately after installing one, showers become far more enjoyable, and your RV feels more like home.
Install a Space-Saving Bathroom Storage System
Storage is always limited in RV bathrooms, so efficient organization can make a world of difference. Over-the-toilet shelves, hanging baskets, or adhesive hooks can maximize space without any drilling or major remodeling.
For example, I installed an over-the-door caddy that cost just $25 and added instant storage for towels, toiletries, and cleaning supplies. Tension rods can also be used to hang small baskets or keep items secure during travel.
If you have some wall space, floating shelves made from lightweight materials can hold essentials without taking up valuable floor area. These small changes keep your bathroom neat and clutter-free, making it more functional and visually appealing.
Replace the Shower Curtain and Liners
Old shower curtains can make even a clean bathroom feel dingy. Replacing them with a new curtain that complements your color scheme is an inexpensive way to modernize the look.
Waterproof fabric or mildew-resistant liners are practical options. You can also use a curved tension rod to create the illusion of more space in the shower. The entire project costs under $30 but makes a noticeable difference in comfort and style.
Patterns or colors that match your new wallpaper or flooring can tie the whole room together. Sometimes, just a new shower curtain is enough to make the space feel completely refreshed.
Swap Out the Mirror for Something Stylish
Mirrors are another overlooked element in RV bathrooms. Replacing a plain mirror with one that has a built-in LED light or decorative frame can dramatically improve the look of the space.
You can find affordable options under $60 that are designed for small spaces. Some LED mirrors even come with anti-fog features or dimmable lighting. Installing one gives the bathroom a luxurious, spa-like feel without exceeding your budget.
If replacing the mirror entirely isn’t feasible, consider framing your existing mirror with peel-and-stick molding for a quick DIY facelift.
Lay Down Vinyl Flooring or Peel-and-Stick Tiles
Many RV bathrooms still have linoleum or outdated tile flooring. Updating the floor instantly changes the overall feel of the room. Peel-and-stick vinyl tiles or waterproof vinyl planks are lightweight, durable, and designed to handle moisture.
You can find stylish options that mimic real wood or stone, and they’re surprisingly affordable, usually between $1 to $2 per square foot. Covering a small RV bathroom floor will typically cost under $80.
Installation is straightforward: clean the surface thoroughly, peel off the backing, and press the tiles down firmly. You can even use a utility knife to trim around corners and fixtures. Once installed, your floor will look brand new with minimal effort.
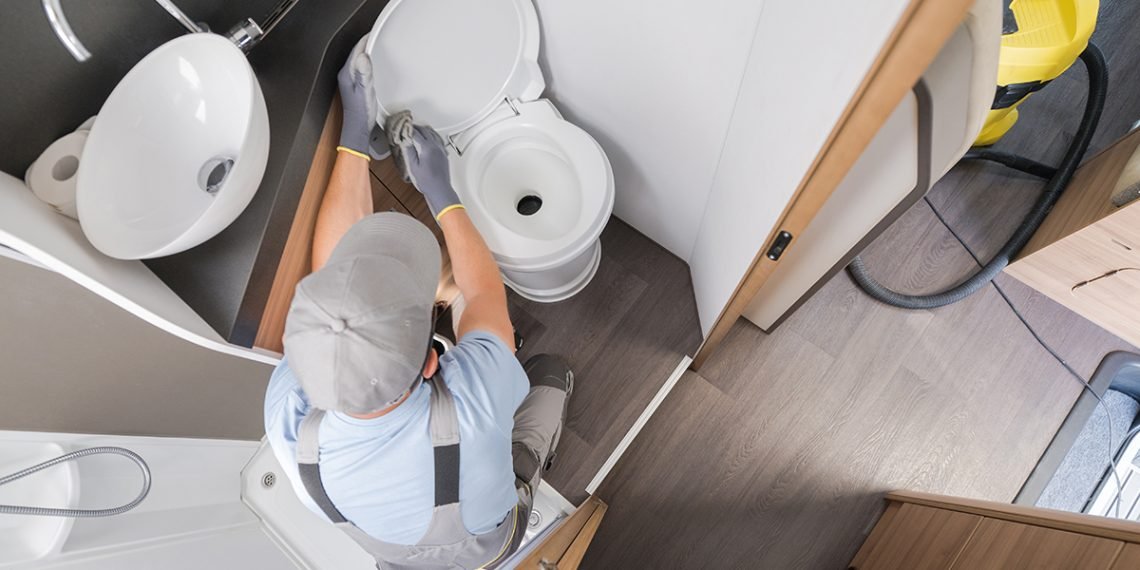
Refresh the Toilet for Comfort and Hygiene
If your RV toilet is showing its age, consider replacing it with a newer, more efficient model. Modern RV toilets use less water and are easier to clean. A high-quality plastic or porcelain toilet can cost between $100 and $200, depending on the features.
If replacement isn’t necessary, you can still improve the existing one. Swap out the seat for a soft-close model or add a toilet deodorizer system to keep things fresh. Cleaning and re-sealing around the base also enhances both the appearance and hygiene of the bathroom.
This single upgrade often makes the biggest difference in comfort during long trips.
Add Decorative Touches for a Finished Look
Once the main upgrades are complete, small decorative touches can tie everything together. A set of matching towels, a small plant, or a framed photo adds warmth and personality.
For less than $50, you can give your bathroom a cozy and inviting atmosphere. A few wall decals or a decorative soap dispenser also go a long way toward creating a space that feels like home.
Adding a scent diffuser or air freshener gives the bathroom a clean, pleasant aroma. Even if your RV bathroom is compact, these small touches make it feel thoughtfully designed.
How to Plan and Budget Your Upgrades
When working with a $500 limit, prioritizing upgrades is key. Focus first on improvements that enhance both function and comfort, like lighting, storage, and fixtures, before moving to purely decorative upgrades.
Here’s a rough idea of how your spending could break down:
- Peel-and-stick wallpaper or wall panels: $50
- New faucet: $60
- LED lighting: $40
- Showerhead: $35
- Storage solutions: $40
- Shower curtain and rod: $25
- Mirror: $60
- Vinyl flooring: $80
- Decorative items: $50
That totals around $440, leaving some room for unexpected expenses or small extras.
Final Thoughts
Upgrading your RV bathroom for under $500 is completely achievable with a bit of planning and creativity. Every small improvement adds up to a more comfortable and inviting space that makes your RV feel like home.
What I’ve learned through these upgrades is that the goal isn’t to make your bathroom look like a luxury hotel, it’s to make it functional, pleasant, and uniquely yours. With the right combination of affordable materials and a few hours of hands-on work, you can completely transform your bathroom without breaking your budget.
The next time you step into your RV bathroom, it should feel like a space you actually enjoy using. A few hundred dollars and a bit of effort can make that happen, proving that you don’t need a huge renovation to see huge results.