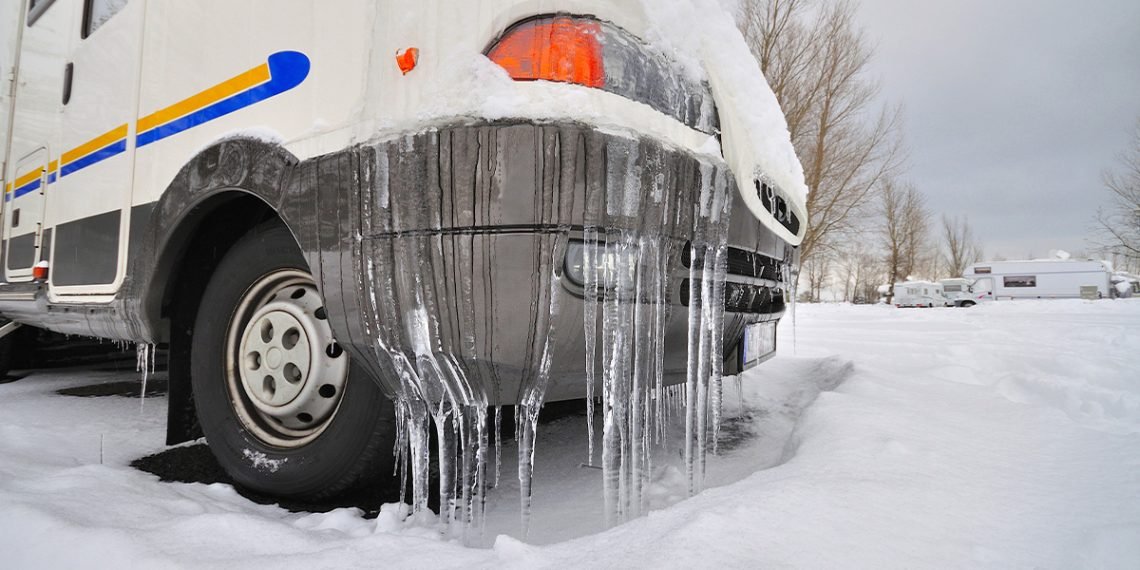
Preparing an RV for winter is one of those tasks that can save you from serious headaches and costly repairs. When temperatures start dropping, your RV’s plumbing system becomes especially vulnerable to freezing, cracking, and bursting if not properly winterized. I’ve learned that spending a few hours to prepare your system for the cold season is well worth it. Once you understand the process, it becomes a routine part of your end-of-season maintenance and helps ensure that when spring rolls around, your plumbing system will be in perfect shape.
Why Winterizing Your RV Plumbing Matters
Water expands when it freezes, and if any remains trapped inside your pipes, fittings, or water heater, it can cause severe damage. The most common issues include split hoses, burst pipes, or cracked fittings, all of which can lead to expensive repairs and water damage inside your RV. Winterizing your RV plumbing system removes water or replaces it with antifreeze to prevent freezing. This simple precaution helps preserve the integrity of your plumbing and extends the lifespan of your RV.
Gathering the Right Tools and Supplies
Before starting, I always make sure I have everything I need within reach. This keeps the process efficient and prevents me from running around in the middle of the job. For winterizing, you’ll need a few key tools and supplies:
- RV-specific antifreeze (non-toxic and safe for potable water systems)
- A water heater bypass kit (if your RV doesn’t already have one)
- A hand pump or air compressor (depending on your method)
- A water pump converter kit
- A wrench or socket set
- A hose for draining and flushing
- A bucket and rags
I also keep gloves and a flashlight handy since some areas of the RV’s plumbing system can be a bit tight or dark.
Draining the Water System
The first major step is draining every bit of water from the system. Even small amounts left behind can freeze and cause damage. I start by turning off the water pump and disconnecting the RV from any water source. Then I open all the faucets, including the shower and exterior spray ports, to let the water flow out.
Next, I locate the low-point drains, these are typically found beneath the RV, and open them up. The water tank drain valve should also be opened to empty the freshwater tank. Once everything has drained, I close the valves again but leave the faucets open to allow air circulation.
Draining and Bypassing the Water Heater
Your water heater also needs special attention. I make sure it’s turned off and cooled before beginning. Then, I remove the drain plug or anode rod to release the water. A small rush of water often comes out, so standing slightly to the side helps avoid a splash.
To prevent filling the water heater with antifreeze later, I install or activate the bypass valve. Most modern RVs come with a bypass system, but if yours doesn’t, a kit can easily be added. This step saves you a few gallons of antifreeze and keeps the heater tank from contamination.
Blowing Out the Lines (Optional Method)
Some RV owners prefer to use compressed air to remove all water from the lines instead of antifreeze. I’ve used both methods and found each effective when done correctly. If you’re using air, connect an air compressor to the city water inlet using a blowout plug.
I then set the pressure to no more than 40 PSI to avoid damaging the lines. Opening each faucet one by one, starting from the closest to the furthest, allows air to push the remaining water out. Don’t forget to include the toilet, outdoor shower, and any secondary water outlets. Once the air runs clear and no water spits out, you can close the lines.
Adding Antifreeze to the System
If you prefer the antifreeze method, it’s simple and very effective. I start by using the water pump converter kit to draw RV antifreeze directly from the container into the plumbing system. With the converter hose connected, I turn on the pump to circulate the antifreeze.
Starting from the closest faucet to the pump, I open the cold and then the hot side until I see a steady stream of pink fluid. Then I move on to the next faucet, repeating the process until every outlet, including the shower, toilet, and exterior sprayer, runs pink. This ensures that the antifreeze has completely filled the system.
Protecting the P-Traps and Drains
I also pour a cup or two of antifreeze down each drain, including the kitchen sink, bathroom sink, and shower drain. This step protects the P-traps from freezing since they usually retain a small amount of water that acts as a seal against odors. Pouring antifreeze into these traps ensures that even in extreme cold, the traps remain protected.
Winterizing the Freshwater Tank and Pump
While the main plumbing lines are now protected, the water pump and tank also need attention. If you’ve used the antifreeze method, running the pump briefly draws the antifreeze through it, protecting the internal mechanisms. I always stop as soon as pink liquid starts appearing at the faucets, which tells me the pump is fully winterized.
The freshwater tank, on the other hand, should be completely drained and left dry. Some RVers add a small amount of antifreeze to the tank, but I avoid doing so since it can be difficult to flush out entirely come spring.
Don’t Forget the Waste Systems
The gray and black water tanks are often overlooked, but they need winter protection too. I start by emptying both tanks completely at a dump station, then flushing them with clean water to remove any residue. After that, I pour a quart of RV antifreeze into each tank through the toilet and sink drains. This helps protect the valves and seals from freezing and cracking.
I also make sure to lubricate the dump valves using a specialized lubricant or a small amount of antifreeze. This keeps them from drying out or sticking during long storage periods.
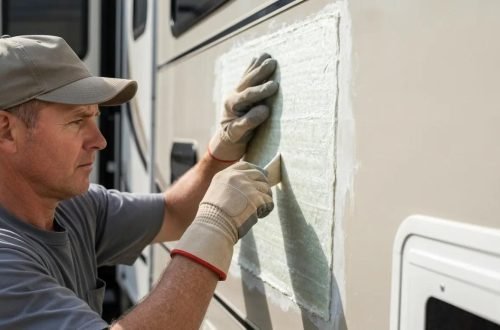
Checking Exterior Seals and Vents
While winterizing the plumbing, I also inspect exterior seals, vents, and openings. Any cracks or worn-out sealant around pipes, windows, or vents can allow moisture to enter, leading to freeze damage or mold growth. Applying fresh sealant before storage prevents water from getting in during winter storms or snow melt.
I check roof vents, the refrigerator vent, and plumbing access panels to ensure everything is closed and secure. Small maintenance details like these make a huge difference once the temperatures drop.
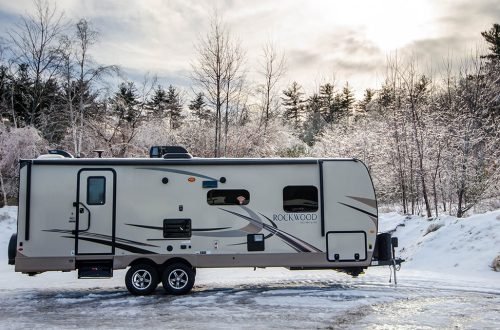
Storing Your RV After Winterizing
After I’m confident the plumbing system is ready, I turn to storage preparation. The goal is to keep the RV dry and insulated. Parking on a slight incline helps with drainage in case of snow or rain. I also use an RV cover that allows ventilation but keeps moisture out.
Inside the RV, I leave cabinet doors open to let air circulate around the plumbing, especially near exterior walls. Placing moisture absorbers or desiccant packs helps prevent condensation buildup. If the RV will be stored in an area with harsh winters, I occasionally check on it to ensure no leaks or moisture issues have developed.
Common Mistakes to Avoid
Over the years, I’ve seen a few common mistakes people make when winterizing their plumbing systems. Forgetting to bypass the water heater is one of the biggest, it wastes antifreeze and can lead to contamination. Another is not draining low-point lines completely, which leaves hidden pockets of water that can freeze.
Using the wrong type of antifreeze can also cause damage. Only RV or marine-grade antifreeze is safe for plumbing systems. Never use automotive antifreeze, as it’s toxic and not suitable for systems that carry potable water. Finally, failing to protect the drains and P-traps can result in unpleasant odors or cracked fittings by springtime.
De-Winterizing in Spring
When warmer weather returns, de-winterizing is just as important. I start by flushing the system thoroughly to remove all traces of antifreeze. Running fresh water through every faucet and drain until the pink color disappears ensures the plumbing is safe to use.
I also reconnect the water heater and fill it before turning it on to prevent damage. Checking for leaks and inspecting the seals again helps confirm that the plumbing survived the winter unscathed. Once everything is clean and working properly, the RV is ready for another season of adventure.
Final Thoughts
Winterizing your RV plumbing system might seem like a lot of work, but it’s a straightforward process once you understand each step. By taking the time to drain, protect, and seal your system, you’re saving yourself from costly repairs and unwanted surprises in spring. It’s one of those maintenance habits that not only preserves your RV’s condition but also gives you peace of mind when you park it for the season.
I’ve found that being thorough, checking every valve, faucet, and connection, pays off every time. Whether you use compressed air or antifreeze, what matters most is consistency. Each year, I follow my checklist, and each year, I open up my RV in perfect working order. That feeling of confidence, knowing my plumbing system is safe and sound, makes the effort worthwhile.