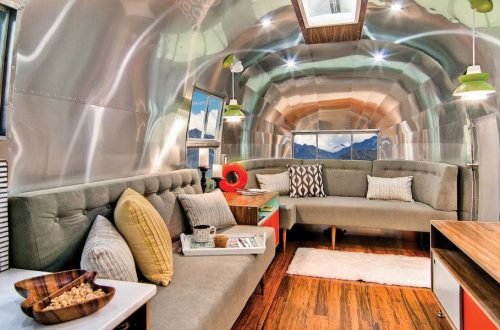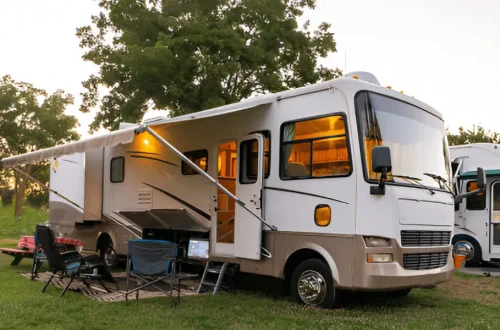
Installing solar power in an RV is one of the most rewarding upgrades I’ve ever made. It completely changed the way I travel, offering the freedom to camp off-grid without worrying about running out of power. With the right setup, solar energy can keep your lights, appliances, and gadgets running smoothly while reducing your dependence on generators or shore power. The process might sound technical at first, but once you break it down, it’s surprisingly manageable, even for those with limited electrical experience.
In this guide, I’ll walk you through each step of installing a solar system in your RV, explaining what you need, how to set it up, and how to make the most of it once everything is in place.
Assess Your Power Needs
Before buying anything, it’s important to know how much power your RV actually uses. This step determines the size of your solar system, the number of panels you’ll need, and the capacity of your batteries.
Start by listing all the electrical devices you typically use, lights, fans, refrigerator, TV, laptops, and chargers. Note their wattage and estimate how many hours you use them daily. Multiply each device’s wattage by the number of hours it runs to get watt-hours per day, then add them up for your total daily consumption.
For example, if your total adds up to 1,200 watt-hours per day, you’ll need enough solar panels and batteries to generate and store at least that amount. Always build in a little buffer, as weather conditions and shading can reduce solar efficiency.
This step also helps you understand your energy habits. If you discover that certain appliances consume too much, consider switching to energy-efficient alternatives before finalizing your system design.
Select the Right Solar Panels
Solar panels come in two main types: monocrystalline and polycrystalline. Monocrystalline panels are more efficient and perform better in low-light conditions, making them ideal for RV use where roof space is limited. Polycrystalline panels are slightly cheaper but less efficient per square foot.
You’ll also need to decide between rigid and flexible panels. Rigid panels are more durable and have better airflow for cooling, while flexible panels are lightweight and easier to install on curved surfaces. I went with rigid monocrystalline panels for my setup, as they provide better long-term performance.
Calculate how many panels you’ll need by dividing your daily energy requirement by the number of sun hours you expect to get each day. For instance, if you need 1,200 watt-hours and expect 5 hours of full sunlight, you’d need roughly 240 watts of solar panels. Adding an extra 20–30% is always smart to account for cloudy days and efficiency loss.
Choose the Right Batteries
Your batteries store the energy produced by the solar panels, so selecting the right type is crucial. RV solar systems typically use one of three types of batteries: lead-acid, AGM (Absorbed Glass Mat), or lithium-ion.
Lead-acid batteries are the most affordable but require regular maintenance and shouldn’t be discharged below 50%. AGM batteries are sealed and maintenance-free, offering a decent balance between cost and reliability. Lithium-ion batteries, while more expensive, are the most efficient and long-lasting. They can discharge deeply without losing capacity and charge faster.
I switched to lithium batteries after using AGM for a while, and the difference in performance was incredible. Despite the higher upfront cost, their longevity and efficiency made them worth every penny.
When sizing your battery bank, calculate your total daily energy usage and decide how many days of autonomy you want, usually one or two days without sunlight. For instance, if you use 1,200 watt-hours daily and want two days of backup, aim for at least 2,400 watt-hours (or roughly 200 amp-hours at 12 volts).
Select a Charge Controller
The charge controller regulates the power coming from the solar panels to the batteries, preventing overcharging and protecting the system. There are two main types: PWM (Pulse Width Modulation) and MPPT (Maximum Power Point Tracking).
PWM controllers are cheaper and suitable for small systems, while MPPT controllers are more efficient and can handle higher voltages, converting excess energy into usable power. For most RV setups, MPPT controllers are the better choice since they maximize the energy harvested from the panels.
When selecting one, make sure it matches your system voltage (12V, 24V, etc.) and can handle the total current your panels produce. Spending a little more on a high-quality controller ensures better performance and longer battery life.
Add an Inverter
Since most solar systems store power as DC (direct current) and many RV appliances run on AC (alternating current), you’ll need an inverter to convert DC to AC. There are two main types of inverters: modified sine wave and pure sine wave.
Modified sine wave inverters are cheaper but may not work well with sensitive electronics. Pure sine wave inverters produce cleaner power, similar to what you get from the grid, making them ideal for laptops, TVs, and other modern devices.
Choose an inverter with enough capacity to handle your highest expected load. If your combined appliance usage peaks at 1,000 watts, opt for at least a 1,500-watt inverter for extra headroom. Some models come with built-in transfer switches, allowing seamless transition between shore power and solar.
Plan the Layout
Planning your layout before drilling or wiring anything is key to a clean and efficient installation. Start with your roof, identify where panels will go, avoiding vents, air conditioners, or areas that may cast shadows. Position panels in a way that allows easy wiring and maintenance access.
Inside the RV, plan where to mount your charge controller, inverter, and battery bank. Keep cable runs short to minimize energy loss, and use appropriately thick wires rated for your system’s amperage. Mount components in ventilated areas to prevent overheating.
I drew a rough sketch of my RV’s layout before installation, which helped me visualize cable paths and avoid obstacles. It also made it easier to estimate wire lengths and connector requirements before making purchases.
Install the Solar Panels
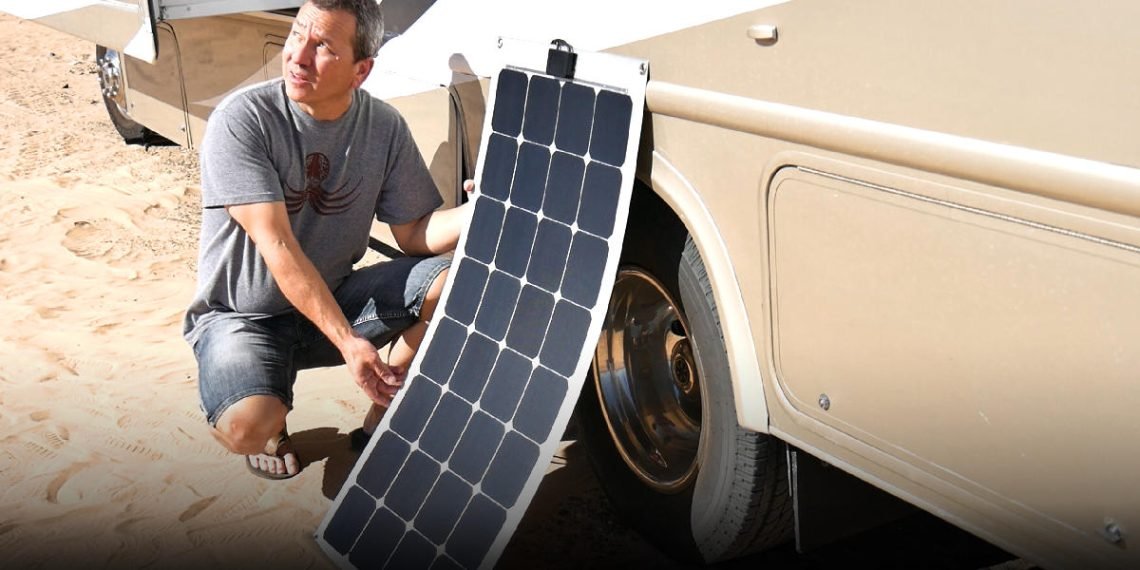
Once the layout is finalized, start with the panels. Clean the roof surface thoroughly before mounting. For rigid panels, use mounting brackets or Z-brackets secured with stainless steel screws and sealant to prevent leaks. Flexible panels usually adhere directly with industrial adhesive.
Run the panel wires through a weatherproof entry gland and into the RV interior. It’s important to use UV-resistant wiring and secure it properly to prevent damage during travel. Label the cables for easier connection later.
Before connecting to other components, check the voltage output of the panels with a multimeter to ensure they’re functioning properly.
Connect the Charge Controller
Next, connect the charge controller to your battery bank. Always connect the batteries to the controller before connecting the solar panels. This allows the controller to detect the system voltage and configure itself properly.
Use appropriately sized fuses and circuit breakers between the components for safety. Once the batteries are connected, attach the solar panel wires to the controller. The controller should start showing charging status, indicating that energy is flowing correctly.
Keep the controller close to the batteries but in a well-ventilated spot. Some models have Bluetooth monitoring, allowing you to track energy input and battery levels from your phone, which I found incredibly convenient.
Wire the Inverter
Connect the inverter directly to the battery bank using heavy-gauge cables. Most inverters come with connection diagrams, so follow them carefully. Install a fuse or breaker between the inverter and batteries for protection.
Mount the inverter in a cool, ventilated area. Once connected, test it with a small appliance to confirm it’s delivering power correctly. If you’re wiring multiple outlets to the inverter, use proper gauge wire and follow RV electrical safety standards.
I recommend adding a power switch or remote control panel for easy access, especially if your inverter is installed in a hard-to-reach location.
Test the System
After everything is wired, it’s time for the moment of truth. Check each connection carefully, ensuring there are no loose wires or exposed conductors. Turn on the charge controller and monitor the input voltage from the solar panels.
If sunlight is available, you should see the batteries charging. Turn on the inverter and plug in small devices to confirm they’re powered. Check that all fuses and breakers work properly.
Testing under different conditions, cloudy, sunny, or shaded, gives a good sense of how the system performs day to day. You’ll quickly learn how weather affects energy generation and when to conserve power.
Monitor and Maintain Your Solar Setup
Once your solar power system is running, regular monitoring ensures everything stays efficient. Keep an eye on the charge controller display to check battery voltage and charging rates. Many modern controllers offer Bluetooth apps that show real-time data on your phone.
Clean the panels periodically to remove dust, leaves, and debris that block sunlight. A gentle wipe with a soft cloth and mild soap is usually enough. Also, inspect cables and connections for signs of corrosion or wear, especially after long trips.
I make it a habit to check my system once a month and after every major journey. These quick inspections prevent small issues from turning into bigger problems.
Optimize for Efficiency
Once you’ve mastered the basics, optimizing your system can help you get even more out of it. Tilt mounts let you adjust panel angles to capture more sunlight during different seasons. Portable panels can supplement roof-mounted ones when parked in shaded areas.
You can also add a solar monitor to track detailed energy statistics or upgrade to larger batteries as your power needs grow. The flexibility of solar energy means you can start small and expand over time without replacing your entire setup.
Another useful tip is to manage power consumption wisely. Run high-energy appliances like coffee makers or microwaves during peak sunlight hours, so the power comes directly from the panels rather than draining your batteries.
The Freedom of Solar Power
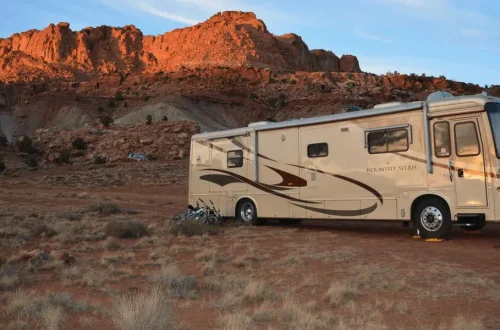
After completing my solar installation, the sense of independence was remarkable. I could park anywhere, from a forest clearing to a desert ridge, and still have power for lights, refrigeration, and even Wi-Fi. The quiet hum of solar power replaced the noise of generators, and I no longer had to rely on camp hookups.
The cost of the entire setup was easily justified by the freedom it brought. No more worrying about finding a powered site or running out of energy on long trips. The system quickly paid for itself in convenience and savings.
Conclusion
Installing solar power in your RV is more than just a technical upgrade, it’s an investment in freedom and sustainability. By assessing your power needs, selecting the right components, and following a careful installation process, you can create a system that serves you for years to come.
Whether you travel full-time or take occasional weekend trips, solar power enhances your experience in countless ways. It reduces noise, saves fuel, and allows you to explore remote destinations without sacrificing comfort.
Each step, from mounting the panels to flipping the inverter switch, adds up to one thing, true energy independence on the open road. Once you’ve lived with solar power in your RV, it’s hard to imagine traveling any other way.