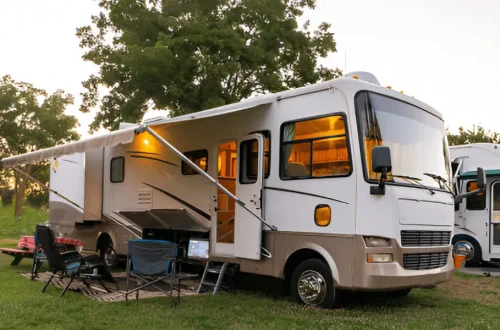
Driving an RV down the highway can be one of the most freeing experiences, but the constant noise that comes with it can quickly drain the joy from a long drive. Between engine hums, rattling cabinets, road vibrations, and wind whistling through small gaps, the noise can build up fast. I decided to tackle this issue head-on and discovered that soundproofing doesn’t have to be expensive or overly complicated. With a few strategic upgrades and small adjustments, I managed to make my RV so much quieter that road trips became far more relaxing and enjoyable.
Identifying the Sources of Noise
Before making any upgrades, I took time to identify where most of the noise came from. The main culprits were the engine compartment, tires hitting rough roads, and wind slipping through small openings around the doors and windows. Inside, the refrigerator, vents, and loose cabinet doors added their share of rattling.
It helped to drive the RV at different speeds and listen closely. I even asked a passenger to move around and note which areas produced the most sound. Once you know what you’re dealing with, it becomes easier to focus on the right solutions rather than trying to soundproof the entire vehicle blindly.
Soundproofing the Engine Compartment
Engine noise tends to dominate when driving, especially if your RV has a front engine. I started by applying heat- and sound-resistant mats under the hood and on the firewall. These materials are designed to handle high temperatures while dampening vibrations and sound waves.
I also checked for gaps where engine noise might be leaking into the cabin, especially around pedals and floorboards. Sealing those with high-temperature-resistant foam made a noticeable difference. For motorhomes, adding a layer of insulation beneath the cockpit carpet also helped reduce the low rumble that used to vibrate through the floor.
Upgrading Door and Window Seals
One of the easiest and most affordable soundproofing improvements I made was replacing old rubber seals around the doors and windows. Over time, these seals wear down, letting in both wind and noise.
I removed the old seals, cleaned the surface, and installed new weatherstripping made for vehicles. The result was immediate, less wind noise, fewer temperature fluctuations, and a tighter overall fit. I also used a thin bead of silicone sealant around window edges to fill in small cracks.
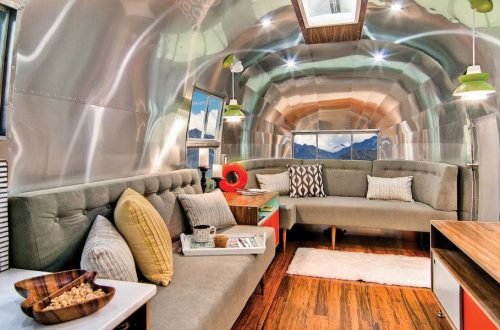
Installing Acoustic Insulation in the Walls
Many RVs come with thin walls that do little to block outside noise. Adding acoustic insulation to the walls and under the floor made a big difference in mine. I used lightweight sound-deadening materials that fit between the inner panels and outer shell without adding too much weight.
The trick was removing a few interior panels carefully, installing the insulation, and then sealing them back in place. I focused on the areas near the engine, wheel wells, and lower wall sections, where noise tends to resonate most.
Quieting the Floor
Road noise from tires and vibrations can travel straight up through the floor. To fix that, I laid down sound-dampening mats beneath the flooring. They’re usually made from dense rubberized material that absorbs vibration and muffles sound before it enters the cabin.
Over that layer, I added a thin foam underlayment to further cushion the sound and topped it with vinyl plank flooring. The combination of these layers not only reduced noise but also made the floor feel softer underfoot.
Reducing Rattles from Cabinets and Drawers
The clattering of cabinet doors and drawers can be just as annoying as road noise. I went through every storage compartment and tightened loose hinges, replaced worn-out latches, and added soft rubber bumpers where doors met the frame.
For drawers that still rattled, I installed small magnetic catches that kept them shut even on bumpy roads. Adding felt pads inside utensil drawers also helped minimize the clinking of metal items while driving. Small changes like these created a big difference in overall cabin peace.
Treating the Ceiling and Roof
Sound can easily travel through the thin roof of an RV, especially during rain or when driving at high speeds. I decided to install an acoustic headliner made from sound-absorbing foam panels covered with fabric. It not only improved sound insulation but also gave the interior a clean, finished look.
For the roof exterior, I added a layer of soundproof coating that also doubles as thermal insulation. This reduced rain noise dramatically and helped regulate interior temperature. It’s an upgrade I’d recommend to anyone tired of that loud drumming sound when it rains.
Silencing Appliances and Equipment
Appliances like the refrigerator, water pump, and air conditioning unit can generate constant background noise. I wrapped the refrigerator compartment with sound-dampening insulation while ensuring proper ventilation. I also installed rubber pads beneath the water pump and generator to absorb vibrations.
The air conditioner was a bit trickier since airflow is crucial. I cleaned the vents, replaced old gaskets, and added foam strips around the vent openings to minimize rattling. Even a simple fix like tightening screws around the vent covers made a difference.
Using Curtains and Upholstery for Added Insulation
Heavy curtains and plush upholstery can do more than just decorate your RV, they also absorb sound. I replaced the thin factory curtains with thicker blackout ones, which not only blocked sunlight but also muffled outside noise.
Adding fabric wall panels or decorative tapestries on hard surfaces helps soften the acoustics, reducing echo and road hum inside the cabin. Upholstered seating and cushions with dense foam filling also contribute to a quieter atmosphere.
Insulating the Wheel Wells
Wheel wells are another major source of road noise, especially on gravel or uneven terrain. I applied a few coats of spray-on sound deadener inside the wheel wells. It forms a thick, rubbery coating that absorbs vibration and reduces the echoing sound of tires hitting rough surfaces.
I also added a layer of insulation above the wheel wells inside the cabin to block any remaining noise. The difference was subtle at first, but on long trips, it made the ride feel smoother and more serene.
Improving the Vent and Fan Noise
Roof vents and fans can whistle or rattle when driving. I adjusted the vent lids and tightened the screws to eliminate unnecessary movement. For extra insulation, I used vent cushions that fit snugly into the openings. They not only reduced outside noise but also helped maintain temperature control inside the RV.
Some RVers install vent covers that allow air circulation even when it’s raining. These covers help block wind noise while driving and prevent drafts when parked. It’s a simple addition that contributes significantly to soundproofing.
Adding Soundproof Curtains or Partitions
For larger RVs or motorhomes, creating quiet zones can be a smart approach. I installed a heavy curtain between the driving area and the living space. This helped isolate the noise from the front when parked and even while driving on highways.
Soundproof curtains are made with thick, multi-layered fabric that absorbs sound waves effectively. They also add privacy and make the living area feel cozier.
Minimizing External Noise When Parked
When camping in busy areas, noise from other campers, generators, or nearby roads can be distracting. I found that setting up strategically can make a big difference. Parking with the noisiest side facing away from traffic or using natural barriers like trees helps reduce unwanted sound.
Adding an outdoor rug, canopy, or windscreen around your campsite can also absorb some ambient noise, creating a more peaceful environment inside your RV.
Regular Maintenance to Keep It Quiet
Soundproofing doesn’t end once you’ve completed your upgrades. Regular maintenance is key. I make it a habit to inspect seals, screws, and insulation every few months. Vibrations from travel can loosen components over time, and early fixes prevent the noise from returning.
Checking tires for even wear, lubricating hinges, and tightening bolts also helps keep things running quietly. A little preventative care goes a long way in maintaining a peaceful ride.
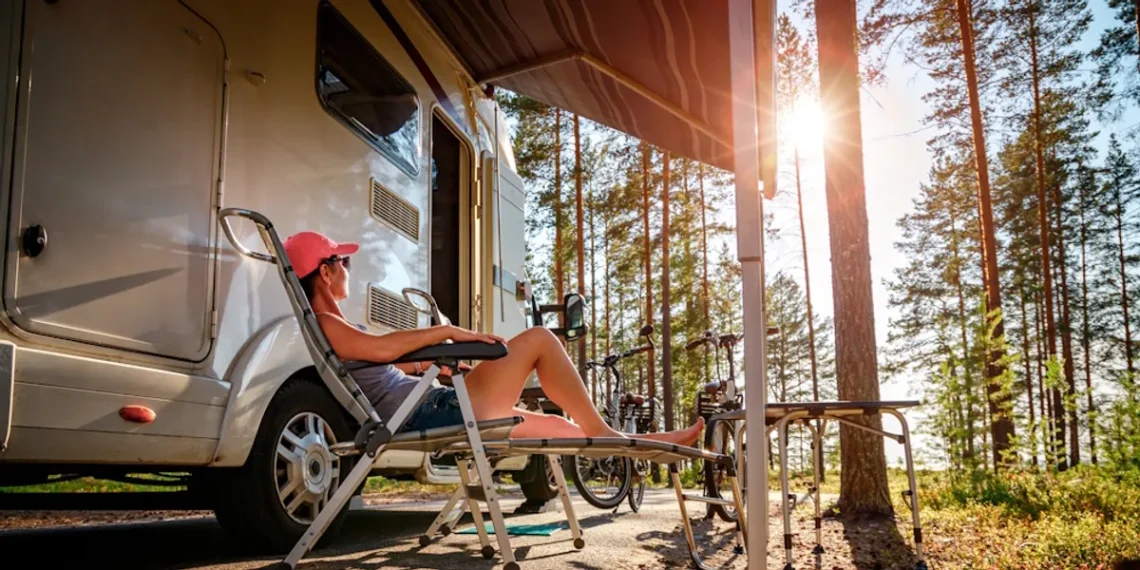
The Difference After Soundproofing
After I finished my soundproofing project, the difference was incredible. Conversations could happen at normal volume, and I could finally enjoy music without cranking up the speakers. Long drives felt calmer, and even sleeping at campgrounds became more comfortable without constant background noise.
The quieter cabin also reduced fatigue during long trips. Driving became less stressful, and relaxing inside the RV felt like being in a proper home rather than a moving machine.
My Final Thoughts
Soundproofing an RV may seem like a big task, but it’s one of the most rewarding improvements you can make. It enhances comfort, improves sleep, and makes every trip more enjoyable. Most of the upgrades I made were inexpensive and easy to complete with basic tools.
By focusing on key areas like the engine, doors, flooring, and appliances, you can dramatically reduce noise levels and create a more peaceful environment. Whether you’re traveling cross-country or spending the weekend in the mountains, a quiet RV makes all the difference.
A few thoughtful soundproofing efforts can turn your road trips from noisy endurance tests into calm, enjoyable journeys where you can truly appreciate the beauty of the open road.